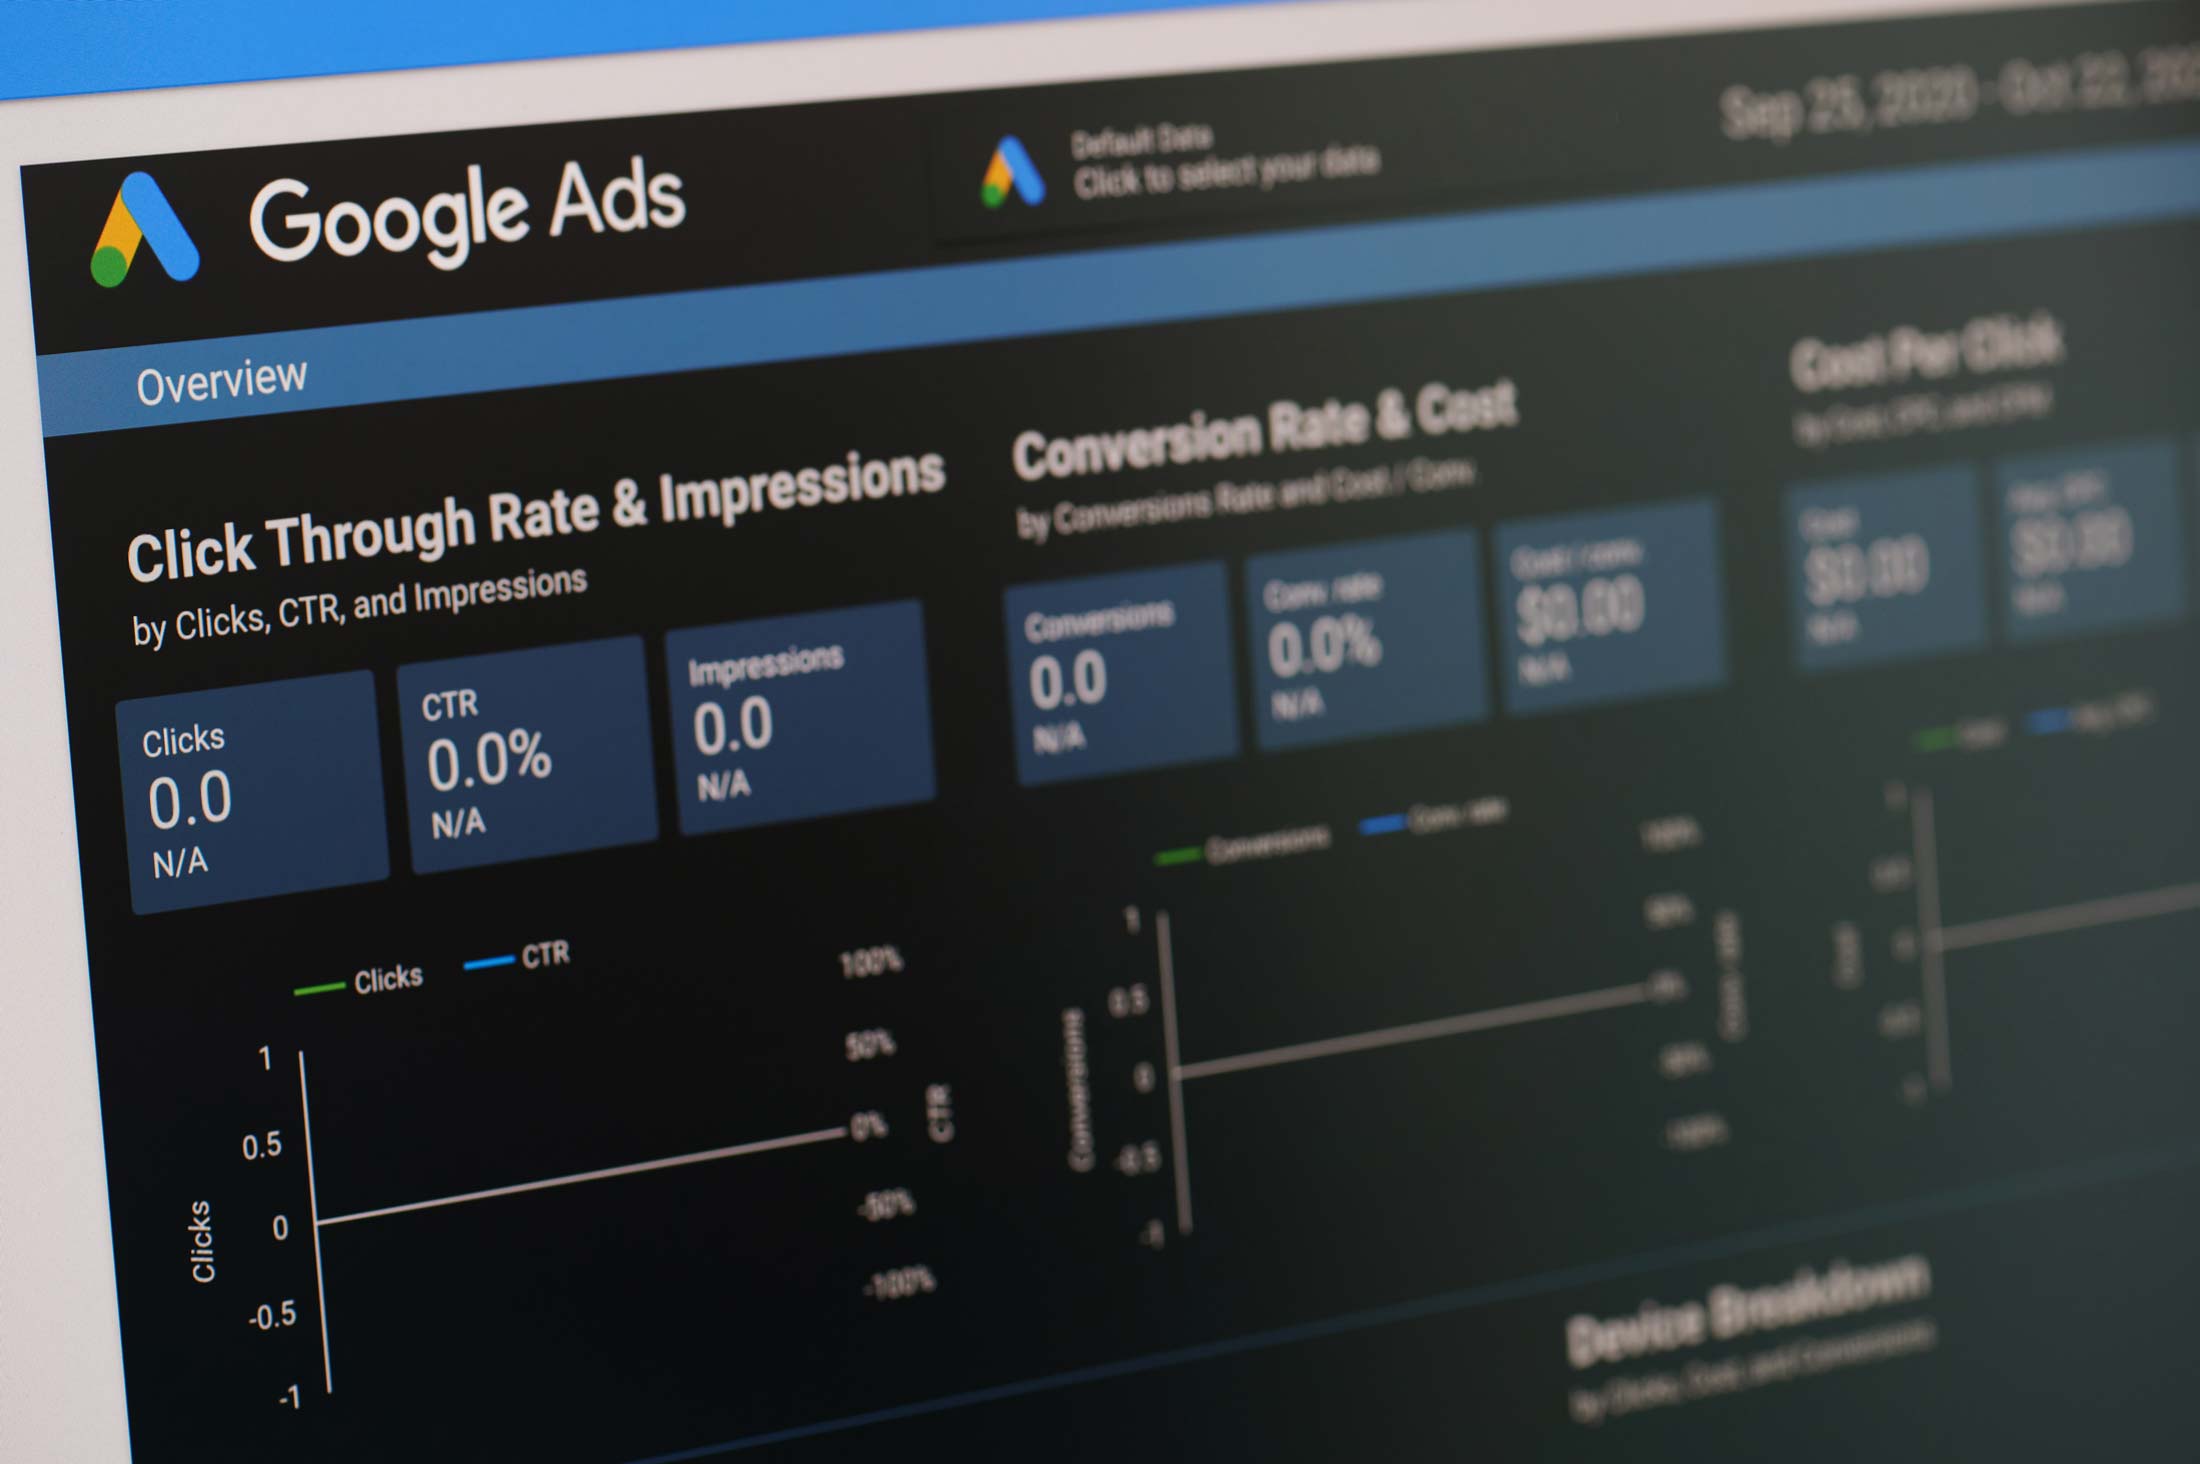
Google Conversion Tracking is a really useful tool – but you’ve really got to know what you’re doing, to make the most of it. Part 4 of our series will take you through the 3 steps of conversion tracking.
If you haven’t set up your Ad Grant yet, read our simple guide here.
Conversion tracking in 3 steps
Here’s how to make sure you’re getting the most out of Google Conversion Tracking:
- Get to know Google Conversion Tracking
 Conversion Tracking is:
- A free tool which reports what happens after a customer interacts with your ad. For example, did they make a purchase, give a donation, get in touch?
- Absolutely necessary. Ad Grants policies require that Conversion Tracking is active, so they can make sure your conversions line up with your company’s goals and to make sure you’re receiving quality leads.
- Responsible for tracking conversions. Google Ads places a pixel on your preferred landing page and will be reported as a conversion by Conversion Tracking and can be analysed in Google Analytics and Google Ads.
- Useful in helping you see the journey your organisation’s conversions take. Decide what kind of conversion would be beneficial to your organisation, before you set up your tracking account. Would you prefer to see donations? Or receive emails and communication? Or would you like to see more people filling in your volunteer form?
2. Set up Google Conversion Tracking

- Select Tool in the top right-hand corner.
- Under Measurement, select Conversions.
- Select the blue plus button.
- If you have Google Analytics, select Import and follow the directions to link the accounts. Otherwise select Website if you’d rather not go with Google Analytics.
- Enter a name for the conversions you’re wanting to track. For example, this might be Volunteers, Donations or Communications.
- Select a description for your conversion, from the drop down menu (select Purchases / Sales for financial donations).
- For all money-related conversions, enter a monetary value for each conversion category.
- Select how you’d like to count the conversions.
- For all remaining options, either customise them or leave them as they are.
- Click create and continue.
3. Implement the conversion tracking tag on your site
 Add 2 code snippets to your website: global site tag and event snippet.
- The global site tag will set new cookies on your domain, storing information about the ad click which brought a person to your site. Sometimes consent is legally required here so please ensure this is done correctly.
- Paste your global site tag between <head> and </head> on each of your web pages.
- The event snippet will track the journey of interactions you’ve tagged as being a conversion. Here you can select either Page Load or Click Here.
- Now copy the code in the box and paste it <body> and </body> on the page belonging to that particular conversion.
- Tracking financial donations requires that you customise your conversion tracking to track transaction-specific values.
- Click Next to finish.
You’ve come so far! Now to just make a few tweaks and make sure everything’s running smoothly. Give your campaign a once over with part 5 of this series: Google Ad Grants: Tips and Tricks: NFP.
In the meantime, we’re here to help. If you’re struggling with your Ad Grants account or if you have any questions, why not give us a call? We’d love to hear from you.


This Post Has 0 Comments